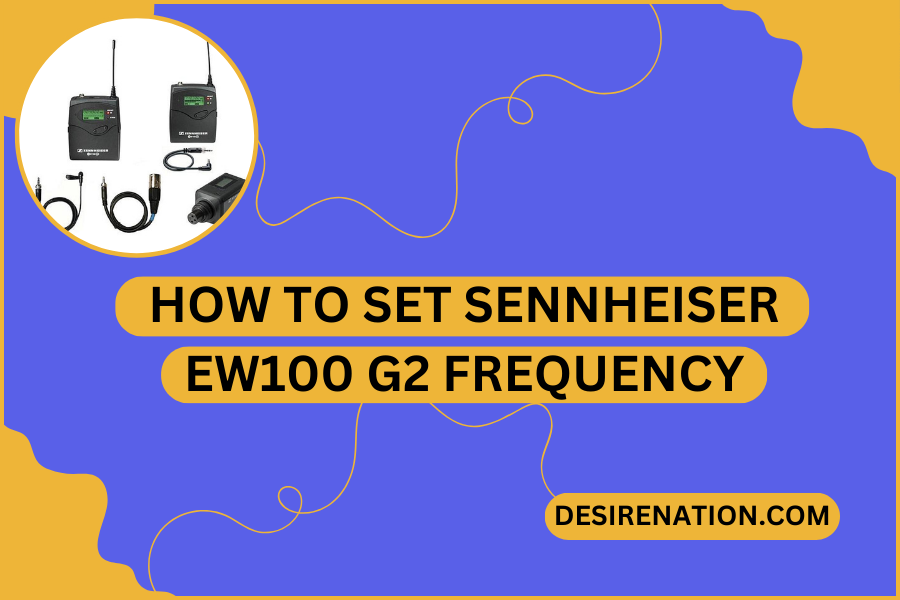
The Sennheiser EW100 G2 wireless microphone system is a popular choice for audio professionals, providing reliable wireless transmission of audio signals. Setting the frequency on the EW100 G2 is a crucial step to ensure interference-free operation and optimal performance. In this guide, we’ll walk you through the process of setting the frequency on the Sennheiser EW100 G2 system.
Understanding Frequency Setup:
Before diving into the steps, it’s essential to understand the significance of setting the frequency on the Sennheiser EW100 G2. This wireless system operates within a specific frequency range, and selecting the right frequency helps avoid interference from other wireless devices and ensures a stable connection between the transmitter and receiver.
Steps to Set Sennheiser EW100 G2 Frequency:
- Power On the Transmitter and Receiver:
- Ensure that both the transmitter (usually attached to the microphone) and the receiver are powered on. Use fresh batteries or a reliable power source to prevent interruptions.
- Access the Frequency Menu:
- On the receiver, locate the menu button or navigation controls. Access the frequency menu by pressing the corresponding button or navigating through the menu options.
- Select “Set Frequency”:
- Within the frequency menu, look for the option labeled “Set Frequency” or a similar term. This is the menu section where you can manually select the operating frequency.
- Choose a Clear Frequency:
- The Sennheiser EW100 G2 system typically operates within a frequency range, and you can manually choose a clear frequency within that range. Use the up/down buttons or a rotary dial to select the desired frequency.
- Monitor for Interference:
- While selecting the frequency, keep an eye on the display or indicator lights on the receiver. Some receivers may have a signal strength meter or indicators that show the presence of interference. Choose a frequency with minimal interference.
- Set Squelch Level (Optional):
- Squelch is a feature that mutes the audio output when the signal strength drops below a certain level. In the frequency menu, you may find an option to set the squelch level. Adjust it according to your preferences and the specific conditions of your environment.
- Confirm and Save:
- Once you have selected a clear frequency and adjusted any additional settings, confirm your selection and save the changes. This is often done by pressing a dedicated “Save” button or navigating to an option like “Exit” to save and apply the chosen frequency.
- Check for Compatibility:
- If you are using multiple Sennheiser EW100 G2 systems, ensure that the frequencies of each system do not interfere with one another. Check the user manual for guidance on coordinating frequencies for multiple systems.
Testing the Setup:
- Perform Sound Checks:
- After setting the frequency, perform sound checks by speaking into the microphone connected to the transmitter. Monitor the audio output on the receiver to ensure clear and interference-free sound.
- Monitor Signal Strength:
- Keep an eye on the signal strength indicators on the receiver during use. If you notice any interference or signal dropouts, consider adjusting the frequency or squelch settings accordingly.
Conclusion:
Setting the frequency on the Sennheiser EW100 G2 wireless microphone system is a crucial step in ensuring reliable and interference-free audio transmission. By following these step-by-step instructions and referring to the user manual for your specific model, you can confidently set the frequency for optimal performance in various audio recording or live sound scenarios. Take the time to choose a clear frequency, perform sound checks, and monitor the signal strength to achieve the best results with your Sennheiser EW100 G2 system.
You Might Also Like These:


