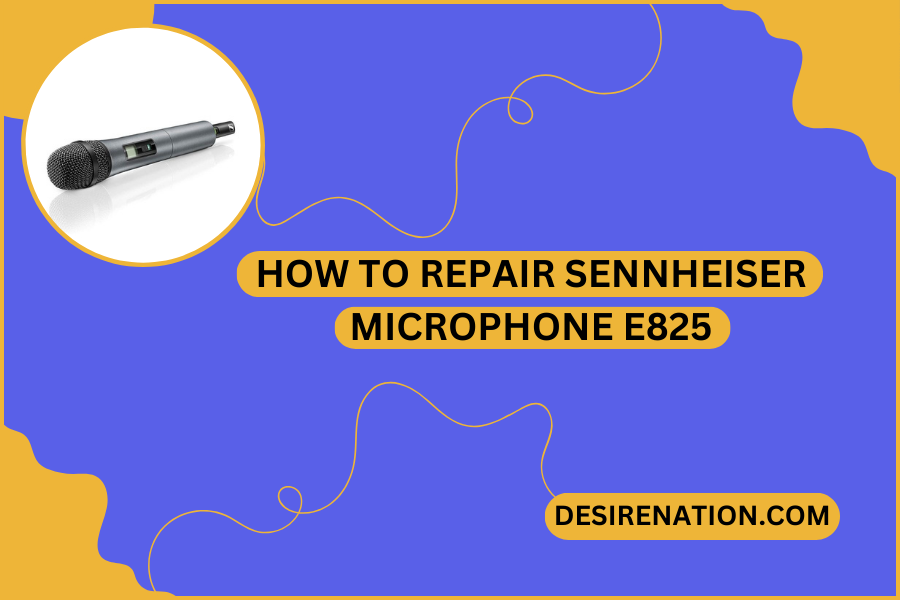
The Sennheiser e825 microphone is a reliable and popular choice for both live sound and recording applications. However, like all electronic devices, microphones can encounter issues over time. If you own a Sennheiser e825 microphone and are experiencing problems with it, this article will guide you through some common troubleshooting steps and DIY fixes to help you get your microphone back in working order.
Disclaimer: Attempt any repairs or fixes at your own risk. If your microphone is under warranty or you’re unsure about performing repairs, it’s advisable to contact Sennheiser’s customer support or a professional technician for assistance.
- Identify the Problem: Before attempting any repairs, it’s crucial to identify the specific issue with your Sennheiser e825 microphone. Common problems include no audio output, distorted sound, or intermittent connections. Knowing the problem will help you focus on the appropriate solution.
- Check the Cables and Connectors: Often, microphone issues are related to faulty cables or connectors. Make sure you are using a known working XLR cable and that it is securely connected to both the microphone and your audio interface or mixer. Also, inspect the XLR connectors for any damage or bent pins.
- Test with Different Equipment: To rule out equipment-related problems, test your Sennheiser e825 with different audio interfaces, mixers, or amplifiers. If the microphone works with other equipment, the issue may lie with your original setup.
- Check for Loose Connections: Carefully inspect the internal connections within the microphone. Gently open the microphone’s casing (if possible), and check for any loose wires or solder joints. Re-solder any loose connections and ensure everything is securely in place.
- Clean the Microphone: Dust and debris can affect microphone performance. Use a can of compressed air to blow out any dust from the microphone grille and capsule. Be gentle to avoid damaging the delicate components inside.
- Replace the XLR Connector: If you suspect the XLR connector on the microphone is faulty, consider replacing it. This may require desoldering the existing connector and soldering on a new one. Ensure you use the correct replacement part and follow soldering safety practices.
- Test the Microphone Element: If you’re experiencing sound quality issues, it’s possible that the microphone element itself is damaged. To test this, you can swap the element with a known working one from a similar microphone or obtain a replacement element from Sennheiser.
- Check for Physical Damage: Inspect the microphone for physical damage, such as dents or cracks in the casing or grille. Minor cosmetic damage may not affect performance, but significant damage could impact sound quality.
- Seek Professional Help: If you’ve tried these troubleshooting steps and your Sennheiser e825 microphone still doesn’t work correctly, or if you’re uncomfortable with DIY repairs, it’s best to contact Sennheiser’s customer support or a qualified technician. They can diagnose and repair more complex issues.
Conclusion
Repairing a Sennheiser e825 microphone may be feasible for common issues like loose connections, cable problems, or minor component replacement. However, always exercise caution and consider your own expertise and comfort level when attempting any repairs. If the problem persists or is beyond your capabilities, don’t hesitate to seek professional assistance to ensure your microphone is back to its optimal performance. Remember that proper maintenance and handling can help extend the lifespan of your microphone and reduce the likelihood of future issues.
You Might Also Like These:
Disassembling Sennheiser PC360 Headphones
How to Connect Sennheiser Headphones to a Panasonic TV


