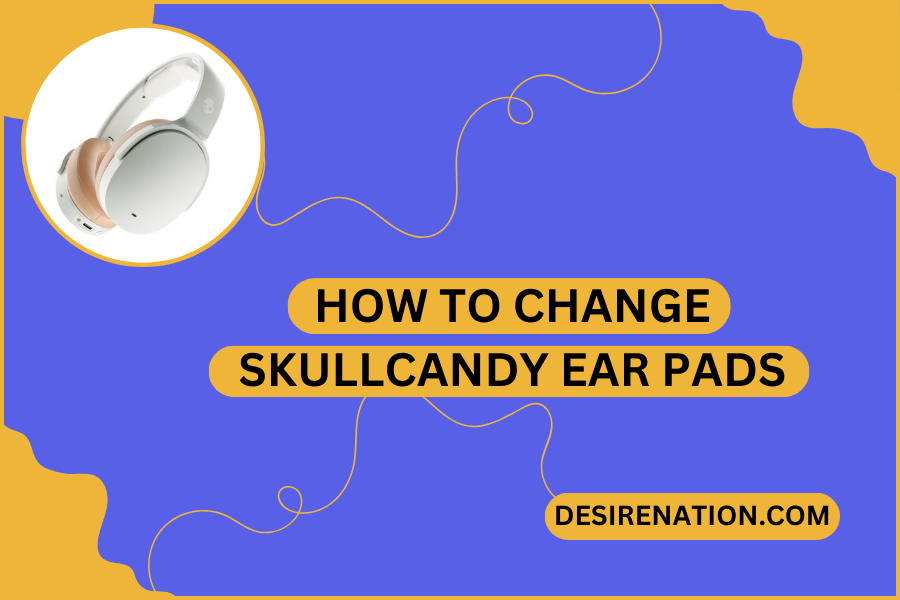
Skullcandy headphones are renowned for their comfort and sound quality, but over time, the ear pads may wear out or you may just want to customize your headphones with new pads. Changing the ear pads on Skullcandy headphones is a straightforward process that can significantly enhance comfort and hygiene. This guide will walk you through the steps of changing the ear pads on your Skullcandy headphones, ensuring a fresh and comfortable listening experience.
Step 1: Choose the Right Replacement Ear Pads
- Compatibility: Ensure the replacement ear pads you purchase are compatible with your specific Skullcandy model.
- Quality: Look for high-quality ear pads that offer comfort and durability. Consider materials like memory foam for added comfort.
Step 2: Remove the Old Ear Pads
- Gently Detach: Carefully pull the old ear pads away from the ear cups. Most Skullcandy ear pads are attached via a lip that fits into a groove on the ear cup.
- Avoid Force: Use gentle force to avoid damaging the headphones. If the ear pads are difficult to remove, slightly warming them up can make the material more pliable and easier to work with.
Step 3: Clean the Headphones
- Wipe Down: Once the old ear pads are removed, take the opportunity to clean the headphones. Use a soft, dry cloth to gently wipe away any dust or debris from the ear cups.
- Avoid Liquids: Be cautious with liquids around your headphones. If needed, use a slightly damp cloth and immediately dry the area afterwards.
Step 4: Attach the New Ear Pads
- Align Properly: Make sure the new ear pads are aligned correctly with the ear cups. There should be an obvious way they fit based on the shape and design of the pads and cups.
- Snap into Place: Carefully press the ear pads into place. The lip of the ear pad should fit securely into the groove on the ear cup. You might hear a soft clicking sound as they snap into place.
- Check Security: Once attached, gently pull on the ear pads to ensure they are securely attached and won’t come off during use.
Step 5: Test the Fit and Comfort
- Wear the Headphones: Put the headphones on to check the fit and comfort of the new ear pads. They should feel snug but not too tight, and there should be no gaps between the pads and the ear cups.
- Adjust if Necessary: If the fit isn’t perfect, carefully readjust the positioning of the ear pads until you achieve the desired fit.
Tips for Maintenance
- Regular Cleaning: Clean your ear pads regularly to extend their life and maintain hygiene.
- Storage: When not in use, store your headphones in a case to protect them from dust and damage.
- Avoid Excessive Heat: Keep your headphones and ear pads away from direct sunlight and high temperatures to prevent warping or degradation of the material.
Conclusion
Changing the ear pads on your Skullcandy headphones is an easy process that can greatly improve your listening experience. By following these steps, you can ensure a comfortable, snug fit with your new ear pads, enhancing both the comfort and longevity of your Skullcandy headphones. Regular maintenance and care of your ear pads and headphones will ensure they continue to provide quality performance and comfort for years to come.
You Might Also Like These:


