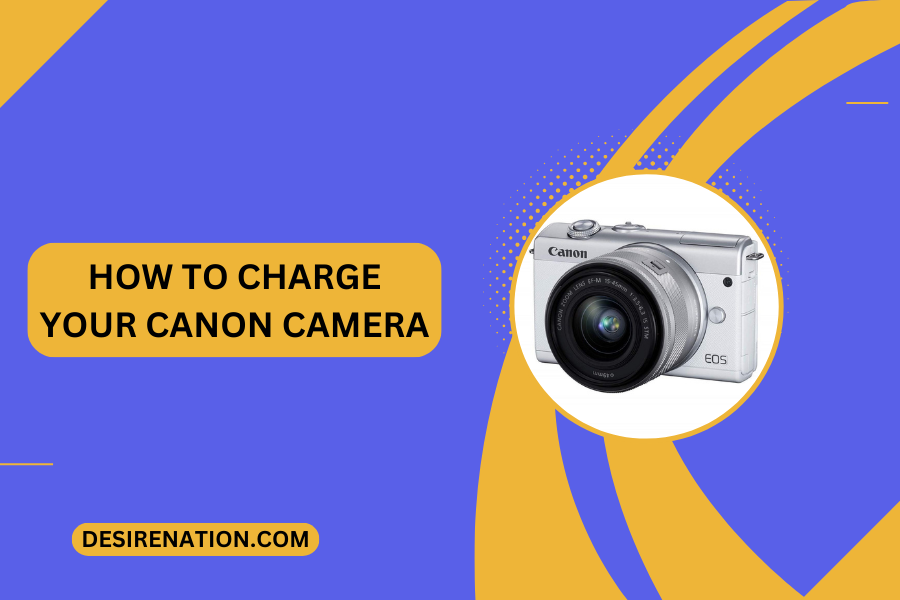
Owning a Canon camera opens up a world of creative possibilities, capturing life’s moments with exceptional clarity and precision. To ensure your camera is always ready for action, understanding how to properly charge it is essential. In this user-friendly guide, we’ll take you through the step-by-step process of charging your Canon camera, so you can keep capturing memories without any interruptions.
Step 1: Know Your Canon Camera Model
Canon offers a diverse range of cameras, from compact point-and-shoots to advanced DSLRs. Before you start charging your Canon camera, identify the specific model you own. Refer to the user manual that came with your camera or visit the official Canon website to find detailed information about your camera’s charging requirements.
Step 2: Check the Battery Type
Canon cameras use different types of batteries, including rechargeable lithium-ion batteries and disposable alkaline batteries. Most modern Canon cameras come with rechargeable batteries, which can be charged using the appropriate method outlined in your camera’s user manual.
Step 3: Remove the Battery
If your Canon camera uses a rechargeable battery, you’ll need to remove it before charging. This step is essential to avoid damage to the camera and ensure a safe charging process. Open the battery compartment and gently remove the battery following the instructions in your camera’s user manual.
Step 4: Use the Correct Charger
Canon provides specific chargers for each camera model. Locate the charger that came with your camera, ensuring it matches the battery type and model. Using the wrong charger can damage the battery or even the camera itself.
Step 5: Connect the Charger
Connect the charger to a power source using the provided power cable. Plug the other end of the cable into the charger. Make sure the power source is stable and that there are no power fluctuations during the charging process.
Step 6: Insert the Battery into the Charger
Insert the removed battery into the charger. The charger’s design will usually accommodate the battery shape and contacts. Ensure the battery is securely in place, and check for any indicator lights on the charger that signal the charging process has begun.
Step 7: Monitor the Charging Process
While charging, keep an eye on the indicator lights on the charger. Most Canon chargers have LED lights that change color or blink to indicate the charging status. Refer to your camera’s user manual for specific details on what each light signifies.
Step 8: Full Charge and Reinsertion
Once the battery is fully charged, the indicator lights will typically change to a steady color. Safely remove the charged battery from the charger and reinsert it into your Canon camera. Make sure it is properly seated and secured in the battery compartment.
Conclusion:
Charging your Canon camera is a straightforward process when you follow these simple steps. By understanding your camera model, using the correct charger, and monitoring the charging process, you ensure that your Canon camera is always ready to capture the moments that matter. Regularly check for firmware updates and other manufacturer recommendations to keep your camera’s performance at its best. Now, with your charged Canon camera in hand, you’re ready to explore and capture the world around you.
You Might Also Like These:


