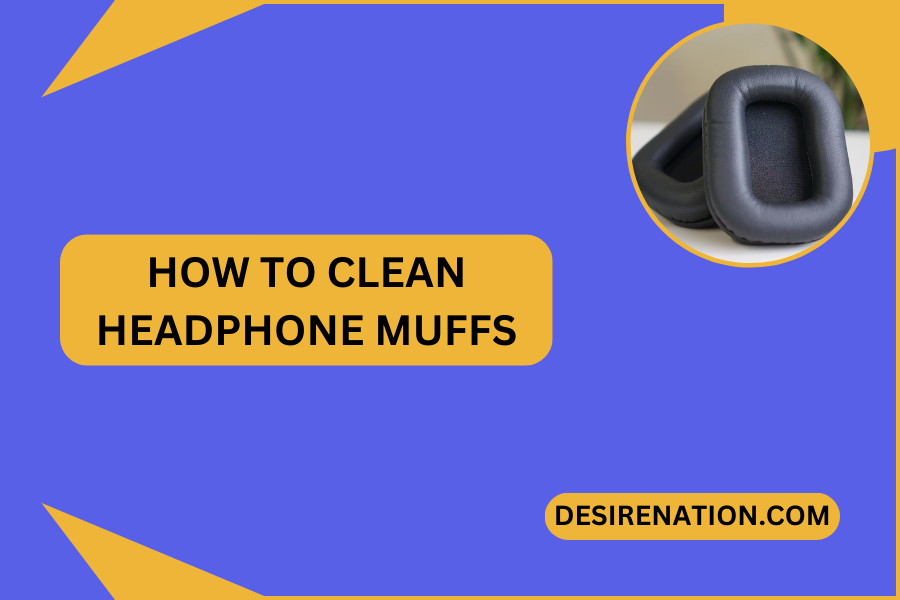
Headphone muffs, also known as ear cushions or ear pads, play a crucial role in providing comfort and sound isolation during your listening sessions. Over time, these muffs can accumulate dirt, oils, and sweat, impacting both hygiene and audio quality. In this article, we’ll guide you through the process of effectively cleaning headphone muffs, ensuring a clean, comfortable, and revitalized listening experience.
1. Check Manufacturer Guidelines:
Begin by consulting the manufacturer’s guidelines for specific instructions on how to clean the headphone muffs without causing damage. Different materials, such as memory foam, faux leather, or velour, may require specific care, and adhering to the manufacturer’s recommendations is crucial.
2. Remove Detachable Muffs (If Applicable):
Some headphones have detachable muffs that can be easily removed for cleaning. Check your headphone model for detachable muffs and follow the manufacturer’s instructions for removal. This allows for a more thorough cleaning and ensures that both the muffs and the headphone speakers can be properly maintained.
3. Vacuuming or Dusting:
For headphones with non-removable muffs, start by gently vacuuming or dusting the surface to remove loose dirt and debris. Use a soft brush attachment on your vacuum cleaner or a clean, dry cloth to wipe away any visible particles.
4. Wipe with a Damp Cloth:
Create a mild cleaning solution by mixing a small amount of gentle detergent or soap with water. Dampen a soft cloth or sponge with the solution, making sure it’s not too wet. Gently wipe the headphone muffs, taking care to avoid saturating the material.
5. Use Isopropyl Alcohol for Disinfection:
For an added layer of hygiene, you can use isopropyl alcohol (rubbing alcohol) for disinfection. Dampen a cloth or cotton ball with a small amount of isopropyl alcohol and wipe down the headphone muffs. Allow the alcohol to evaporate completely before using the headphones again.
6. Leather and Synthetic Leather Muffs:
If your headphone muffs are made of leather or synthetic leather, use a specialized leather cleaner or a mixture of water and a small amount of mild soap. Apply the solution to a clean cloth and wipe the muffs gently. Follow up with a leather conditioner to maintain the material’s quality.
7. Velour or Cloth Muffs:
For velour or cloth muffs, use a slightly damp cloth with a mild detergent and gently wipe the surface. Be cautious with moisture to prevent damage, and allow the muffs to air dry completely before using the headphones.
8. Let Muffs Air Dry:
After cleaning, let the headphone muffs air dry thoroughly before reattaching them or using the headphones. Avoid using a hairdryer or any heat source, as excessive heat can damage the muffs.
9. Regular Maintenance:
Incorporate regular cleaning into your headphone care routine to keep the muffs in optimal condition. Wiping down the muffs periodically, especially after intense use or physical activities, helps maintain hygiene and comfort.
10. Consider Replacement:
If the headphone muffs show signs of wear, tear, or no longer provide the desired comfort, consider replacing them. Many manufacturers offer replacement muffs designed specifically for their headphone models.
Conclusion:
Cleaning headphone muffs is a simple yet essential step to ensure a clean, comfortable, and hygienic listening experience. By following these steps and considering the specific materials of your headphone muffs, you can revitalize your headphones and enjoy a fresh and improved audio journey. Regular maintenance not only preserves the longevity of your headphones but also enhances the overall quality of your listening sessions.
You Might Also Like These:


