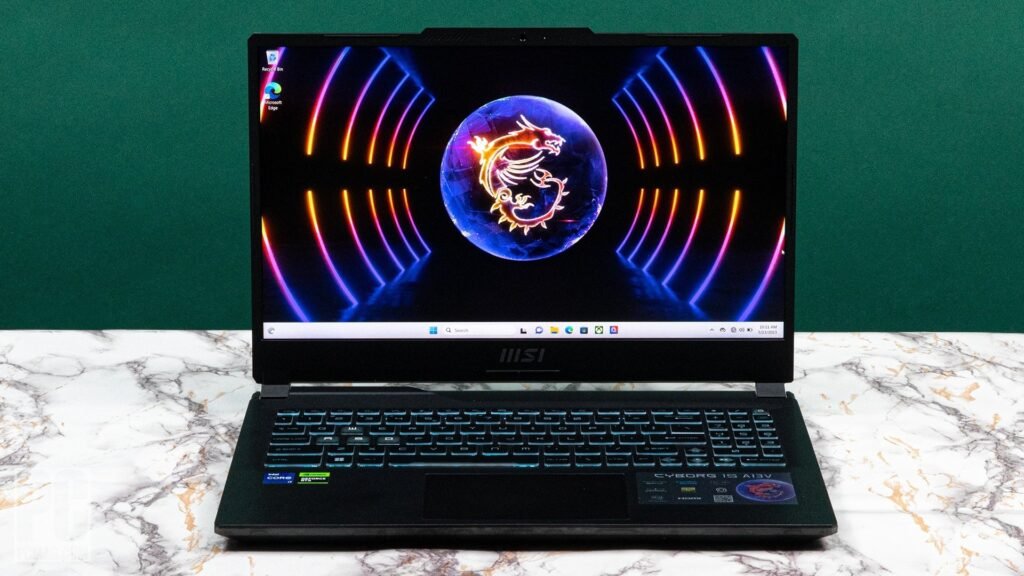
In today’s wireless world, Bluetooth headphones have become indispensable accessories for enjoying music, watching videos, or taking calls without being tethered to your device. If you’re new to the world of Bluetooth headphones and want to connect them to your laptop for the ultimate listening experience, you’re in the right place. In this guide, we’ll walk you through the simple steps to connect Bluetooth headphones to your laptop, ensuring you can enjoy your favorite audio content with ease and convenience.
1. Check Bluetooth Compatibility:
Before you begin, ensure that your laptop supports Bluetooth connectivity. Most modern laptops come equipped with built-in Bluetooth capabilities, but if yours doesn’t, you may need to purchase a USB Bluetooth adapter to enable wireless connectivity.
2. Turn on Bluetooth on Your Laptop:
Start by turning on Bluetooth on your laptop. Depending on your laptop’s operating system (Windows, macOS, Linux), the steps to enable Bluetooth may vary slightly. Typically, you can find the Bluetooth settings in the system tray (Windows), System Preferences (macOS), or the system settings menu (Linux).
3. Put Your Bluetooth Headphones in Pairing Mode:
Next, put your Bluetooth headphones into pairing mode. Refer to the manufacturer’s instructions for your specific headphones model, as the method for entering pairing mode may vary. In general, you’ll need to press and hold the power or Bluetooth button on your headphones until you see a flashing LED light or hear an audible indication that they are in pairing mode.
4. Search for Bluetooth Devices on Your Laptop:
Once your Bluetooth headphones are in pairing mode, navigate to the Bluetooth settings on your laptop. Look for an option to “Add” or “Search for” Bluetooth devices. Your laptop should automatically start scanning for nearby Bluetooth devices, including your headphones.
5. Select Your Bluetooth Headphones:
When your headphones appear in the list of available Bluetooth devices on your laptop, select them to initiate the pairing process. You may be prompted to enter a pairing code, which is usually 0000 or 1234, but consult your headphones’ manual for confirmation.
6. Complete the Pairing Process:
Once you’ve selected your Bluetooth headphones on your laptop, the pairing process will begin. Your laptop will establish a connection with your headphones, and you should receive a notification or confirmation when the pairing is successful.
7. Test the Connection:
To ensure that your Bluetooth headphones are connected properly to your laptop, play some audio or video content on your laptop and listen through your headphones. If you hear sound coming from your headphones, congratulations – you’ve successfully connected them to your laptop!
8. Adjust Audio Settings (Optional):
Depending on your laptop’s operating system, you may need to adjust the audio settings to route audio to your Bluetooth headphones. This can usually be done through the sound settings menu, where you can select your headphones as the default audio output device.
Conclusion:
Connecting Bluetooth headphones to your laptop is a straightforward process that opens up a world of wireless audio enjoyment. By following these simple steps to enable Bluetooth, put your headphones in pairing mode, and complete the pairing process on your laptop, you can enjoy your favorite music, videos, and calls with the freedom and convenience of wireless connectivity. So, grab your Bluetooth headphones, connect them to your laptop, and immerse yourself in a wireless audio experience like never before.
You Might Also Like These:
Amp for Sennheiser HD 700 Headphones
How to Remove a Cable from Your Sennheiser Headphones
How to pair jvc bluetooth headphones


