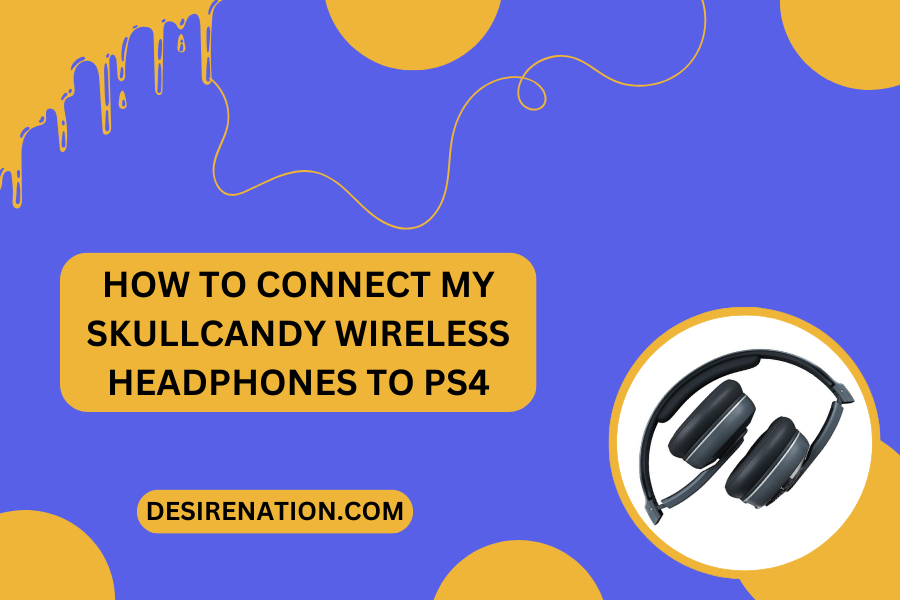
Connecting your Skullcandy wireless headphones to a PS4 can elevate your gaming experience with high-quality audio. However, the process isn’t always straightforward, as the PS4 has specific compatibility requirements for wireless audio devices. This article will guide you through the steps to connect your Skullcandy wireless headphones to your PS4, ensuring you can dive into your gaming sessions with great sound.
Understanding Compatibility
Before you begin, it’s important to note that the PS4 does not support all Bluetooth audio devices directly. This means that connecting your Skullcandy wireless headphones might require additional steps or accessories.
Step 1: Check Your Skullcandy Headphone Model
- Bluetooth Capability: Ensure that your Skullcandy headphones are Bluetooth-enabled.
- Compatibility: Check if your Skullcandy model has any specific compatibility features or requirements for connecting to devices like the PS4.
Step 2: Assess Connection Options
- Direct Bluetooth Connection: Some Skullcandy models may not connect directly to the PS4 due to the console’s Bluetooth restrictions.
- Using a USB Bluetooth Adapter: You can use a compatible USB Bluetooth adapter/dongle as a workaround. Plug the adapter into the PS4’s USB port and use it to pair with your headphones.
- Audio Cable (If Applicable): If your Skullcandy headphones also support wired connections, you can connect them to the PS4 controller using a 3.5mm audio cable.
Step 3: Connecting with a USB Bluetooth Adapter
- Plug in the Adapter: Insert the USB Bluetooth adapter into an open USB port on your PS4.
- Put Headphones in Pairing Mode: Turn on your Skullcandy headphones and put them in pairing mode.
- Pair the Headphones: Follow the instructions that came with your USB adapter to pair your Skullcandy headphones to the adapter.
Step 4: Adjusting PS4 Audio Settings
- Navigate to Settings: On your PS4, go to the ‘Settings’ menu.
- Access Audio Devices: Select ‘Devices’ > ‘Audio Devices’.
- Change Output Device: In the ‘Audio Devices’ menu, set the ‘Output Device’ to your Skullcandy headphones or USB adapter.
- Adjust Volume: Ensure the volume is adjusted to your preference.
Step 5: Testing the Connection
- Check Audio: Start a game or play some audio on your PS4 to test the connection. You should hear the sound through your Skullcandy headphones.
- Troubleshoot if Needed: If you don’t hear any audio, double-check the connections and the audio settings on your PS4.
Tips for a Smooth Experience
- Charge Your Headphones: Make sure your headphones are fully charged before starting a gaming session.
- Firmware Updates: Keep your Skullcandy headphones updated with the latest firmware for optimal performance.
- Avoid Interference: For the best experience, reduce wireless interference by keeping other Bluetooth devices away from your PS4 and headphones.
Conclusion
Connecting your Skullcandy wireless headphones to a PS4 might require a few extra steps or accessories, but it’s worth the effort for an immersive gaming experience. Whether you use a USB Bluetooth adapter or a wired connection, you can enjoy the high-quality sound and comfort of your Skullcandy headphones while gaming on your PS4. With these simple steps, you’re all set to enhance your gaming sessions with superior audio.
You Might Also Like These:


