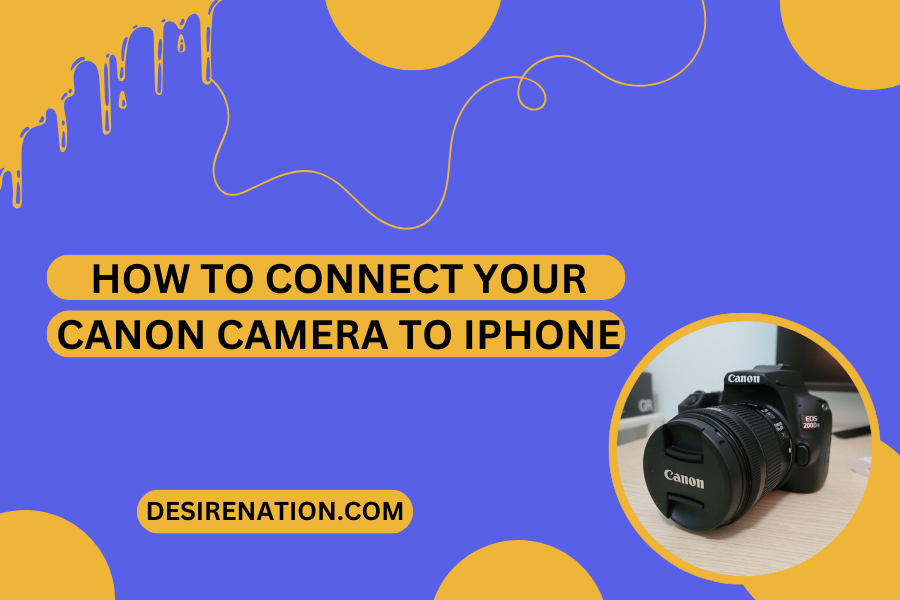
In the age of instant sharing and mobile photography, connecting your Canon camera to your iPhone opens up a world of possibilities. Whether you want to transfer photos wirelessly, remotely control your camera, or streamline your photo editing workflow, establishing a connection between your Canon camera and iPhone is a valuable skill. In this guide, we’ll explore various methods to achieve this seamless integration.
Method 1: Canon Camera Connect App
Canon provides a dedicated app, Canon Camera Connect, designed to facilitate the connection between your Canon camera and iPhone. Follow these steps to get started:
-
Download the Canon Camera Connect App:
- Visit the App Store on your iPhone and download the Canon Camera Connect app. Ensure that your Canon camera is compatible with the app.
-
Enable Wi-Fi on Your Camera:
- On your Canon camera, navigate to the menu and enable the Wi-Fi function. This may involve selecting a Wi-Fi option and configuring the settings.
-
Connect iPhone to Camera’s Wi-Fi:
- On your iPhone, go to the Settings app and select Wi-Fi. Connect to the Wi-Fi network broadcast by your Canon camera. The network name is typically displayed on the camera’s screen.
-
Launch Canon Camera Connect App:
- Open the Canon Camera Connect app on your iPhone. The app should detect your camera’s Wi-Fi connection and establish a link.
-
Explore Features:
- Once connected, you can explore various features, including transferring photos and videos, remotely controlling your camera, and even geotagging your images using your iPhone’s GPS.
Method 2: Wireless File Transmitter (For Compatible Canon Models):
If you own a Canon camera with built-in Wi-Fi capability or a wireless file transmitter accessory, you can transfer files directly to your iPhone. Here’s how:
-
Enable Wi-Fi on Your Camera:
- Access your camera’s menu and enable the Wi-Fi function. Configure the settings to establish a Wi-Fi network.
-
Connect iPhone to Camera’s Wi-Fi:
- On your iPhone, go to Settings > Wi-Fi and connect to the Wi-Fi network created by your Canon camera.
-
Transfer Files Using Camera’s Menu:
- With the connection established, use your camera’s menu to select and transfer files wirelessly to your iPhone.
Method 3: Using an SD Card Reader:
If your Canon camera uses an SD card, you can transfer photos directly to your iPhone using an SD card reader accessory. Follow these steps:
-
Purchase an SD Card Reader:
- Obtain an SD card reader that is compatible with your iPhone. These are often available with Lightning connectors.
-
Insert SD Card into Reader:
- Insert your camera’s SD card into the card reader.
-
Connect Reader to iPhone:
- Plug the SD card reader into your iPhone’s Lightning port. Your iPhone should recognize the connected SD card.
-
Transfer Photos:
- Open the Photos app on your iPhone, and you should see the option to import photos from the connected SD card.
Important Considerations:
-
App Compatibility:
- Ensure that your Canon camera model is compatible with the Canon Camera Connect app or other wireless features.
-
Firmware Updates:
- Keep your camera’s firmware updated to access the latest features and compatibility improvements.
-
Battery Life:
- Wireless features can consume battery power. Monitor both your camera and iPhone battery levels, especially during extended use.
Conclusion:
Connecting your Canon camera to your iPhone enhances your photography experience by providing quick and convenient ways to transfer, view, and share your images. Whether using the Canon Camera Connect app, a wireless file transmitter, or an SD card reader, these methods offer flexibility and efficiency in integrating your Canon camera into your mobile photography workflow.
You Might Also Like These:
Features of the Canon EOS 760D


