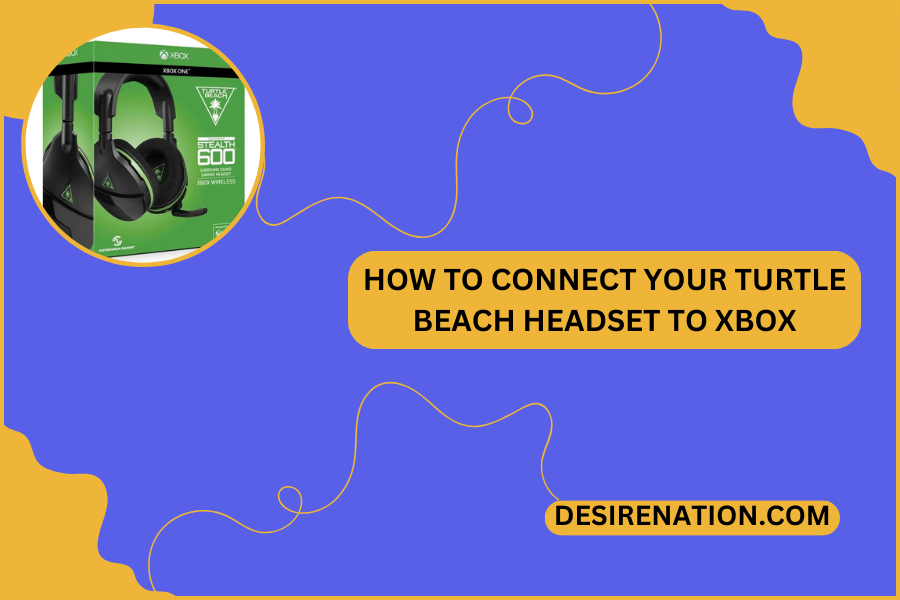
Turtle Beach headsets are a popular choice among gamers for their immersive audio quality. If you’ve recently acquired a Turtle Beach headset and are eager to elevate your gaming experience on Xbox, this comprehensive guide will walk you through the steps to ensure a seamless connection.
1. Identify Your Turtle Beach Headset Model:
-
Check Compatibility:
- Before initiating the connection process, confirm that your Turtle Beach headset is compatible with Xbox. Most Turtle Beach headsets are designed to work seamlessly with Xbox consoles.
-
Wired or Wireless:
- Determine whether your Turtle Beach headset connects via a wired or wireless connection. This information is essential for selecting the appropriate connection method.
2. Wired Connection:
-
Using Xbox Controller:
- If your Turtle Beach headset features a 3.5mm audio jack, connecting it to your Xbox controller is straightforward. Follow these steps:
- Locate the 3.5mm audio jack on your Xbox controller.
- Insert the 3.5mm connector of your Turtle Beach headset into the audio jack.
- Adjust the volume settings on your Xbox to ensure proper audio output.
- If your Turtle Beach headset features a 3.5mm audio jack, connecting it to your Xbox controller is straightforward. Follow these steps:
-
Using Xbox Adapter (if applicable):
- Some Turtle Beach headsets may come with an Xbox audio adapter. If included, connect the adapter to the Xbox controller and then plug in the headset.
3. Wireless Connection:
-
Using Xbox Wireless:
- If your Turtle Beach headset is designed for Xbox Wireless, follow these steps:
- Power on your Turtle Beach headset and ensure it is in pairing mode.
- Press and hold the wireless sync button on your Xbox console until the light blinks.
- Wait for the headset and console to establish a connection.
- If your Turtle Beach headset is designed for Xbox Wireless, follow these steps:
-
Using Xbox Wireless Adapter (if applicable):
- If your headset comes with a wireless adapter, connect it to an available USB port on your Xbox console. Follow the manufacturer’s instructions for pairing.
4. Configure Audio Settings on Xbox:
-
Access Xbox Settings:
- Navigate to the settings menu on your Xbox console using your controller.
-
Audio Settings:
- In the settings menu, locate the audio settings or devices section. Adjust the audio output settings to ensure that your Turtle Beach headset is recognized as the primary audio device.
-
Mic Monitoring (if applicable):
- If your Turtle Beach headset features a microphone, check the audio settings to enable or adjust mic monitoring levels based on your preference.
5. Test the Connection:
-
Play Audio:
- Play a piece of audio on your Xbox to test the connection. This can be a game, music, or any other content that allows you to verify the sound output from your Turtle Beach headset.
-
Check Microphone (if applicable):
- If your Turtle Beach headset includes a microphone, test its functionality by speaking into it and checking for proper audio input on the Xbox.
6. Troubleshooting Tips:
-
Update Firmware (if applicable):
- Check the Turtle Beach website for firmware updates for your headset. Keeping the firmware up-to-date ensures optimal performance and compatibility.
-
Reconnect and Restart:
- If you encounter any issues, try reconnecting your Turtle Beach headset and restarting both the headset and your Xbox console.
Conclusion:
Connecting your Turtle Beach headset to your Xbox is a straightforward process that ensures you get the most out of its exceptional audio capabilities. Whether you prefer a wired or wireless connection, following these steps guarantees a seamless integration, allowing you to immerse yourself in the rich audio experience that Turtle Beach headsets are renowned for during your gaming sessions on Xbox.
You Might Also Like These:
Turtle Beach Recon Chat Gaming Headset
Best Turtle Beach Gaming Headsets
How to reset a turtle beach headset


