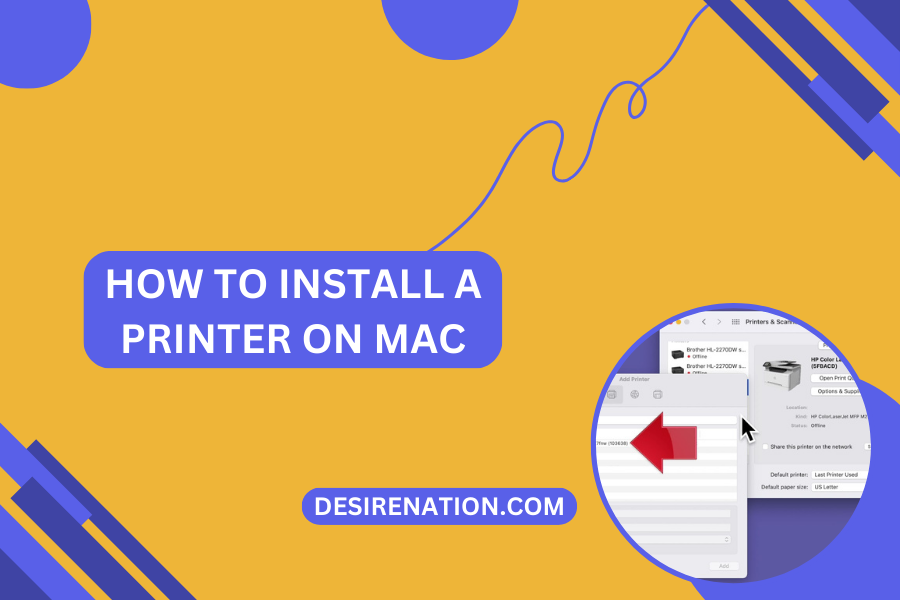
Are you a Mac user looking to install a new printer but feeling a bit lost in the process? Fret not! In this comprehensive guide, we’ll walk you through the steps to install a printer on your Mac seamlessly. Whether you’re a tech-savvy individual or a beginner, these steps are designed to make the process as straightforward as possible.
Step 1: Check Compatibility Before diving into the installation process, it’s crucial to ensure that your printer is compatible with Mac operating systems. Most modern printers are compatible with Mac, but it’s always a good idea to double-check. You can usually find compatibility information on the manufacturer’s website or in the printer’s user manual.
Step 2: Connect the Printer Once you’ve confirmed compatibility, the next step is to connect your printer to your Mac. Depending on the type of printer you have, you can connect it via USB cable, Wi-Fi, or Ethernet cable. Follow the manufacturer’s instructions for connecting your specific printer model.
Step 3: Power On the Printer After connecting the printer to your Mac, power it on and ensure that it’s ready for setup. Some printers may require you to install ink cartridges or paper before proceeding.
Step 4: Add the Printer to Your Mac Now it’s time to add the printer to your Mac’s list of available devices. Here’s how:
- Open “System Preferences” from the Apple menu or by clicking the gear icon in the Dock.
- Click on “Printers & Scanners.”
- If your printer is detected automatically, it will appear in the list on the left-hand side. Simply click on it to select it.
- If your printer doesn’t appear automatically, click the “+” button below the list of printers.
- Your Mac will search for available printers. Once your printer appears in the list, select it and click “Add.”
Step 5: Install Printer Software (if necessary) In some cases, your Mac may automatically download and install the necessary printer drivers and software. However, if this doesn’t happen, you may need to download and install the software manually from the manufacturer’s website. This software typically includes additional features and functionality for your printer.
Step 6: Test Your Printer Once the printer is successfully added to your Mac, it’s a good idea to test it to ensure that it’s working correctly. Open a document or image and select “File” > “Print.” Choose your printer from the list of available printers and adjust any settings as needed. Click “Print” to send the document to the printer.
Congratulations! You’ve successfully installed a printer on your Mac. Now you can enjoy hassle-free printing whenever you need it. If you encounter any issues during the installation process, don’t hesitate to refer to the printer’s user manual or contact the manufacturer for assistance.
You Might Also Like These:


