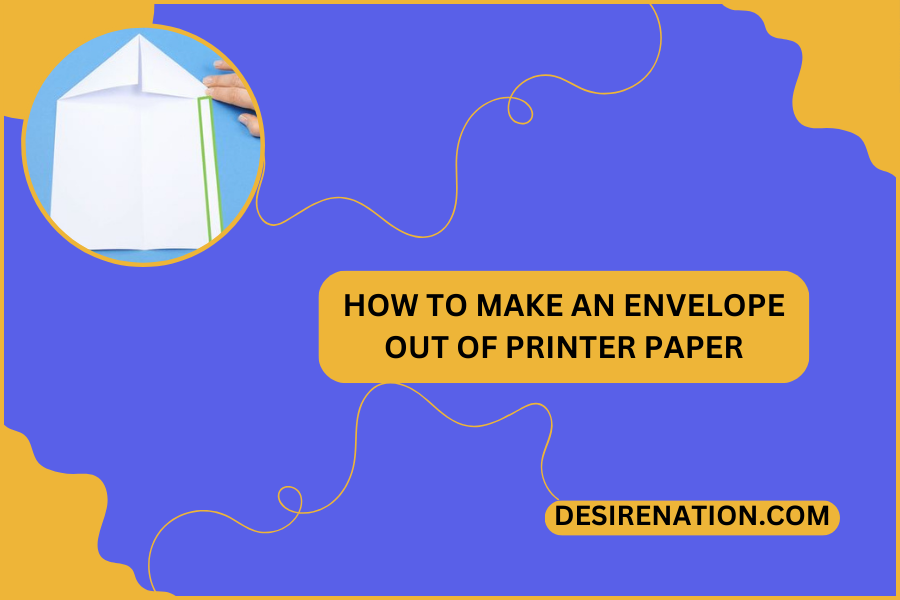
In today’s digital age, sending handwritten letters may seem like a lost art. However, there are still occasions where a personalized touch can make all the difference, whether it’s sending a heartfelt note, a greeting card, or a special invitation. Making your own envelope out of printer paper adds a unique and creative touch to your correspondence. In this blog post, we’ll guide you through the simple steps of creating an envelope using readily available printer paper.
Materials Needed:
- Printer paper (standard letter size)
- Scissors
- Ruler
- Pencil
- Adhesive (glue stick or double-sided tape)
Step 1: Choose Your Paper
Start by selecting a piece of printer paper in the size you desire for your envelope. Standard letter size paper (8.5 x 11 inches) works well for most envelopes, but you can adjust the dimensions according to your preference.
Step 2: Measure and Mark
Place the paper horizontally on a flat surface. Using a ruler and pencil, measure and mark the dimensions for your envelope. Here’s a simple guide for standard letter size paper:
- Width: Measure and mark 4 inches from the left and right edges of the paper.
- Height: Measure and mark 6 inches from the top edge of the paper.
Step 3: Cut and Fold
Once you’ve marked the dimensions, carefully cut along the lines using scissors. You should now have a rectangular piece of paper with the dimensions you’ve specified.
Next, turn the paper so that it’s positioned vertically (portrait orientation). Fold the bottom edge of the paper up towards the top edge, creating a flap that is approximately 2 inches high.
Step 4: Seal the Edges
With the flap folded, apply adhesive along the bottom and side edges of the paper. You can use a glue stick or double-sided tape for this step. Make sure to apply the adhesive close to the edges to ensure a secure seal.
Step 5: Fold and Seal
Once the adhesive is applied, fold the side edges of the paper towards the center, overlapping them slightly to form the envelope’s shape. Press down firmly to secure the folds and ensure that the adhesive sticks.
Your homemade envelope is now complete and ready to use! Simply insert your letter, card, or invitation into the envelope, fold down the flap, and seal it shut.
Conclusion:
Making your own envelope out of printer paper is a fun and practical way to add a personal touch to your correspondence. With just a few simple steps and basic materials, you can create custom envelopes in any size or design you desire. Whether you’re sending a handwritten letter to a friend or mailing out special invitations, homemade envelopes are sure to impress recipients and make your message stand out. Give it a try and unleash your creativity today!
You Might Also Like These:
How to scan a document on a canon printer


