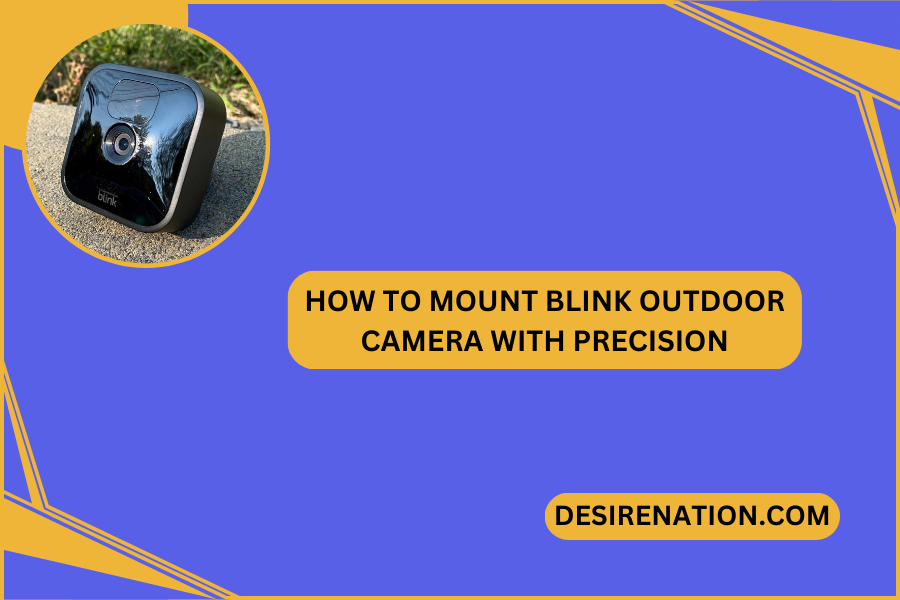
Mounting your Blink Outdoor camera is a crucial step in optimizing its performance and ensuring effective surveillance of your property. In this comprehensive guide, we’ll walk you through the process of mounting your Blink Outdoor camera securely and strategically for maximum coverage.
1. Choose Optimal Camera Placement:
-
Survey the Area:
- Begin by surveying the area you intend to monitor. Identify key entry points, vulnerable areas, and spaces where you want the camera to capture motion and activity.
-
Consider Angles:
- Think about the angles at which the camera should be positioned to achieve the best view. Ensure the camera has an unobstructed line of sight to the areas of interest.
2. Gather Necessary Tools and Accessories:
-
Check Package Contents:
- Ensure you have all the necessary components that came with your Blink Outdoor camera. This includes the camera unit, mounting bracket, screws, and any additional accessories.
-
Tools:
- Gather tools such as a screwdriver, a level, and a drill (if required for your mounting surface).
3. Understand the Mounting Bracket:
-
Examine the Bracket:
- Take a close look at the mounting bracket provided with your Blink Outdoor camera. The bracket is designed to allow flexibility in adjusting the camera’s position.
-
Pivot and Swivel:
- Note the pivot and swivel points on the bracket, as these will enable you to fine-tune the camera’s direction.
4. Select Mounting Surface:
-
Compatible Surfaces:
- Blink Outdoor cameras can be mounted on various surfaces such as wood, drywall, stucco, or brick. Ensure that the chosen surface is stable and suitable for mounting.
-
Indoor vs. Outdoor Mounting:
- Decide whether you are mounting the camera indoors or outdoors. Outdoor mounting may require additional considerations for weatherproofing.
5. Positioning the Camera on the Bracket:
-
Attach Camera to Bracket:
- Securely attach the Blink Outdoor camera to the mounting bracket. Ensure that it is firmly fixed in place.
-
Adjustment Angles:
- Utilize the pivot and swivel points on the bracket to adjust the camera angles. Experiment with different positions to find the optimal view.
6. Marking and Preparing for Installation:
-
Mark Screw Holes:
- Hold the mounted camera against the chosen surface and use a pencil or marker to mark the positions of the screw holes on the surface.
-
Use a Level:
- Use a level to ensure that the camera is mounted straight and not tilted. This step is crucial for achieving a balanced and accurate view.
7. Drill Pilot Holes and Secure Bracket:
-
Drill Pilot Holes:
- If necessary, drill pilot holes into the marked positions on the mounting surface. Use a drill bit appropriate for the type of surface.
-
Secure Bracket with Screws:
- Securely attach the mounting bracket to the surface using the provided screws. Tighten the screws to ensure stability.
8. Final Adjustments and Testing:
-
Fine-Tune Camera Position:
- Make any final adjustments to the camera’s position to achieve the desired view. Ensure it is securely fastened to the bracket.
-
Test Camera Functionality:
- Power on the Blink Outdoor camera and test its functionality. Use the Blink app to check the live feed and verify that the camera captures motion effectively.
9. Weatherproofing (For Outdoor Installation):
-
Consider Weather Conditions:
- If mounting the camera outdoors, consider using weatherproofing solutions such as silicone sealant around the screw holes to prevent water infiltration.
10. Maintenance and Monitoring:
-
Regular Checks:
- Periodically check the camera’s position and stability. Ensure that it continues to provide clear and effective surveillance.
-
Monitor Battery Levels:
- Keep an eye on the battery levels of your Blink Outdoor camera through the Blink app. Replace batteries as needed to maintain uninterrupted operation.
Conclusion:
By following these step-by-step instructions, you can confidently mount your Blink Outdoor camera and enhance the security of your property. A strategically positioned and securely mounted camera ensures reliable surveillance, providing you with peace of mind and control over your home monitoring system.
You Might Also Like These:
How to change aperture on nikon


