Printing documents efficiently is a key aspect of maximizing productivity, reducing paper waste, and saving time. If you own a MacBook and want to print double-sided (also known as duplex printing), you’re in luck! macOS offers a straightforward method to print double-sided documents directly from your MacBook. In this guide, we’ll walk you through the step-by-step process of printing double-sided on a MacBook, ensuring that you can optimize your printing workflow with ease.
Step 1: Open the Document
Begin by opening the document you want to print on your MacBook. This could be a Word document, PDF, spreadsheet, or any other type of file that you want to print double-sided.
Step 2: Access Print Options
Once the document is open, navigate to the top menu and click on “File,” then select “Print” from the dropdown menu. Alternatively, you can use the keyboard shortcut “Command + P” to quickly access the print options.
Step 3: Customize Print Settings
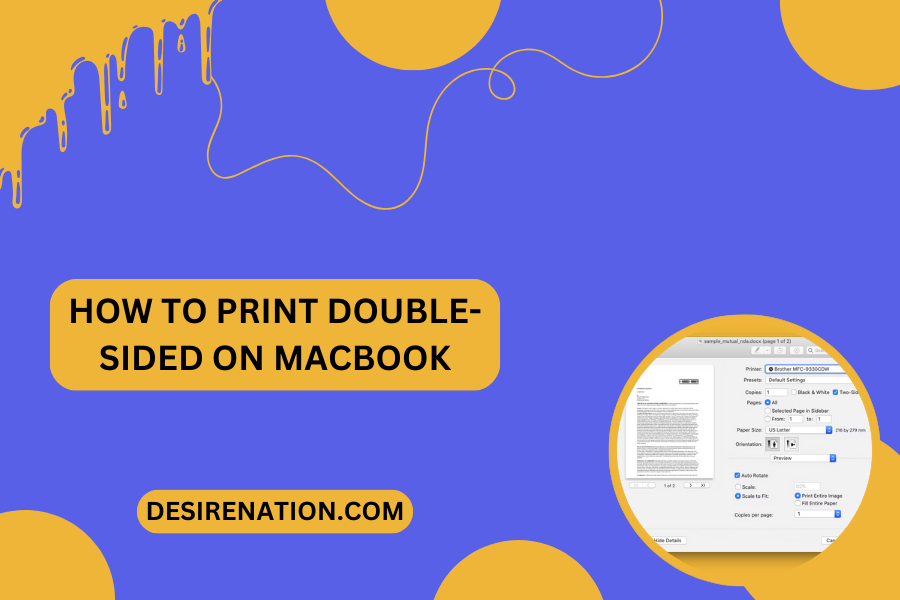
In the print dialog box that appears, locate the “Two-Sided” or “Duplex” printing option. Depending on your printer model and macOS version, this option may be labeled differently, but it generally refers to double-sided printing. Check the box or select the option to enable double-sided printing.
Step 4: Adjust Print Settings (Optional)
Before printing, you can customize additional print settings according to your preferences. These settings may include the number of copies, page range, paper size, orientation, and quality settings. Make any desired adjustments before proceeding to print.
Step 5: Print the Document
Once you’ve configured the print settings to your liking, click on the “Print” button to send the document to your printer. macOS will communicate with your printer and initiate the printing process, automatically printing double-sided if you enabled the option in the print settings.
Additional Tips:
- If your printer supports automatic duplex printing, macOS will handle the double-sided printing process seamlessly. If not, you may need to manually flip the pages and reinsert them into the printer to print on the reverse side.
- Consider previewing the document before printing to ensure that the layout and formatting appear as expected, especially for complex documents or multi-page files.
- If you frequently print double-sided documents, you can set up default print settings for duplex printing in the System Preferences > Printers & Scanners menu.
Conclusion
Printing double-sided documents on your MacBook is a simple and efficient way to reduce paper usage and streamline your printing workflow. By following the steps outlined in this guide and customizing print settings to suit your needs, you can easily print double-sided documents directly from your MacBook. Whether you’re printing reports, presentations, or other documents, mastering the art of double-sided printing will help you optimize your productivity and minimize waste with ease.
You Might Also Like These:
How to Print Text Messages from Android Devices
How to Print an Email in Outlook
How to Print Labels from Excel
What is a Sublimation Printer?
How Much Does a 3D Printer Cost?


