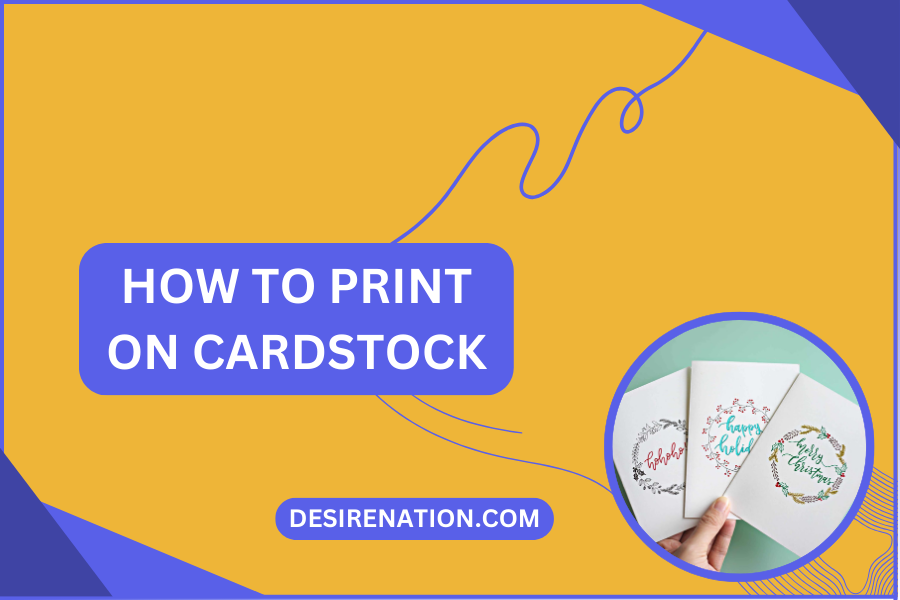
Printing on cardstock offers a versatile and creative way to produce high-quality invitations, greeting cards, business cards, and other printed materials with a professional touch. However, printing on cardstock requires careful consideration of printer settings and paper handling to achieve optimal results. In this blog post, we’ll provide a comprehensive guide on how to print on cardstock, ensuring that your printed projects turn out beautifully every time.
Step 1: Choose the Right Printer
Not all printers are designed to handle cardstock, so it’s essential to choose a printer that is compatible with thicker paper types. Look for a printer with a straight paper path and adjustable paper trays that can accommodate cardstock without bending or jamming.
Step 2: Select High-Quality Cardstock
Choose high-quality cardstock that is specifically designed for printing. Look for cardstock with a smooth, coated finish for best results. The weight and thickness of the cardstock will depend on your project requirements, but a weight of 80 lb to 110 lb is suitable for most printing applications.
Step 3: Adjust Printer Settings
Before printing, adjust the printer settings to ensure compatibility with cardstock. Open the printer properties or settings menu on your computer and select the appropriate paper type and size. Set the printer to “Cardstock” or “Heavyweight” mode to adjust the printer’s feeding mechanism and ink application for thicker paper.
Step 4: Load the Cardstock
Load the cardstock into the printer’s paper tray, making sure to align it properly and adjust any paper guides to accommodate the size of the cardstock. For printers with a manual feed option, you may need to feed the cardstock one sheet at a time to prevent jams.
Step 5: Print a Test Page
Before printing your final project, it’s a good idea to print a test page on a plain sheet of paper to check the alignment and print quality. Make any necessary adjustments to the printer settings or paper handling before printing on the cardstock.
Step 6: Print Your Project
Once you’re satisfied with the test page, you’re ready to print your project on the cardstock. Select the appropriate print options in your software program and initiate the print job. Allow the printer to complete the printing process without interruption.
Step 7: Allow Ink to Dry
After printing, allow the ink to dry completely before handling or stacking the printed cardstock. Depending on the type of ink and paper coating, this may take a few minutes to several hours.
Step 8: Finish and Trim (Optional)
Once the ink is dry, you can finish your printed project by trimming any excess paper or adding embellishments as desired. Use a paper cutter or scissors to trim the edges of the cardstock for a clean and professional finish.
Conclusion:
Printing on cardstock opens up a world of possibilities for creating personalized and professional-looking printed materials. By following these simple steps and choosing the right printer, paper, and settings, you can achieve beautiful results with your cardstock printing projects. Whether you’re crafting invitations, greeting cards, or business collateral, printing on cardstock adds a touch of elegance and sophistication to your printed materials.
You Might Also Like These:
How to change printer ink canon


