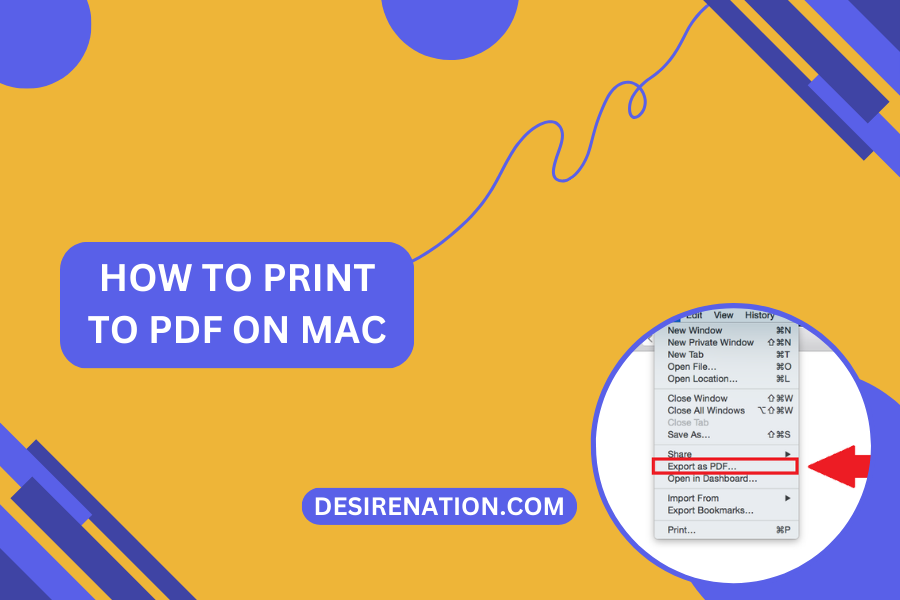
Printing documents to PDF format is a convenient way to create digital copies of files that can be easily shared, archived, or viewed on various devices. Fortunately, Mac users have a built-in feature that allows them to print to PDF directly from any application. In this blog post, we’ll explore the step-by-step process of printing to PDF on a Mac, ensuring you can effortlessly create PDF documents from any file or document.
Step 1: Open the Document or File
Start by opening the document or file that you want to print to PDF. This could be a text document, a web page, an image, or any other file type that you can open and view on your Mac.
Step 2: Access the Print Menu
Once the document or file is open, navigate to the “File” menu at the top left corner of the screen and select “Print” from the dropdown menu. Alternatively, you can use the keyboard shortcut “Command + P” to access the print menu quickly.
Step 3: Choose the Printer
In the print menu, you’ll see a list of available printers. Look for an option labeled “PDF” or “Save as PDF” in the printer selection dropdown menu. This option allows you to print the document to PDF format instead of sending it to a physical printer.
Step 4: Customize Print Settings
Before printing to PDF, you can customize the print settings to adjust the layout, paper size, orientation, and other options according to your preferences. You can also choose to include headers, footers, and other annotations if desired.
Step 5: Specify Save Location and Name
Once you’ve customized the print settings, click on the “PDF” button or dropdown menu. Select the option to “Save as PDF” or “Save to PDF” from the list. This will open a dialog box where you can specify the save location and name for the PDF file.
Step 6: Save the PDF File
After specifying the save location and name, click on the “Save” button to create the PDF file. Your document will be printed to PDF format and saved to the specified location on your Mac. Depending on the size and complexity of the document, it may take a few moments to generate the PDF file.
Step 7: Access and Share the PDF File
Once the PDF file is created, you can access it from the save location you specified earlier. You can now view, share, or archive the PDF document as needed. PDF files are compatible with a wide range of devices and platforms, making them a versatile and convenient format for storing and sharing documents.
Conclusion:
Printing to PDF on a Mac is a simple and convenient process that allows you to create digital copies of documents quickly and easily. Whether you’re saving web pages, emails, or text documents, the built-in print to PDF feature on Macs ensures that you can create high-quality PDF files from any application. By following these steps, you can effortlessly generate PDF documents from any file or document, ensuring you have digital copies that can be easily shared, archived, or viewed on various devices.
You Might Also Like These:
How to print an email in outlook


