Screenshots are a valuable tool for capturing important moments, sharing information, or troubleshooting tech issues. Whether you’re a student, a professional, or simply someone who loves to document their digital experiences, knowing how to take a screenshot on your Dell laptop is essential. In this guide, we’ll walk you through the various methods to screenshot on a Dell laptop, catering to different preferences and needs.
Using Keyboard Shortcuts
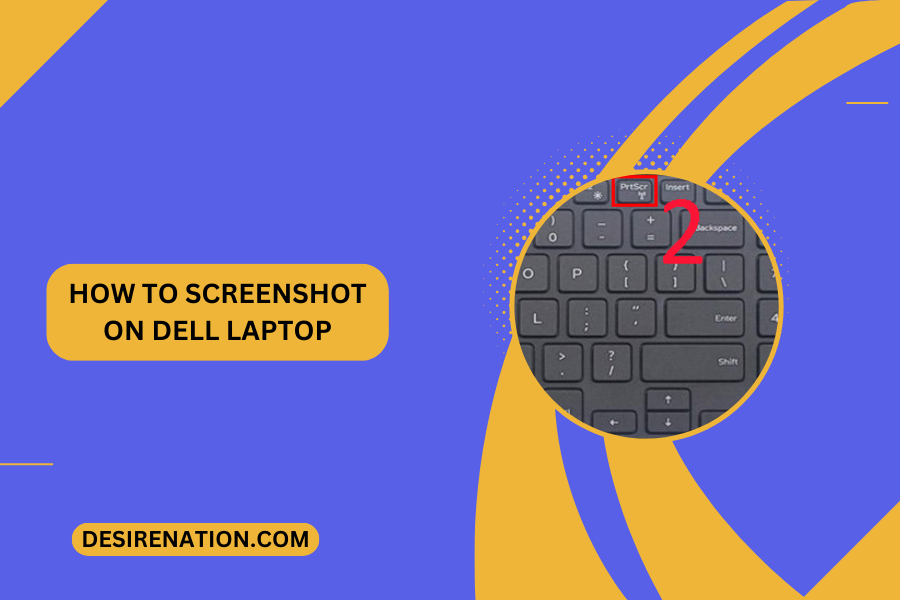
- Capture the Entire Screen (Print Screen): Press the “PrtScn” or “Print Screen” key on your Dell laptop’s keyboard. This key might also be labeled as “PrtSc,” “PRTSCN,” or something similar. This action will capture the entire screen and copy it to the clipboard.
- Capture the Active Window (Alt + Print Screen): To capture only the active window, press the “Alt” key together with the “PrtScn” key. This will take a screenshot of the currently active window and copy it to the clipboard.
- Paste and Save the Screenshot: After capturing the screenshot, open an image editing software like Paint, Photoshop, or even Microsoft Word. Press “Ctrl” + “V” to paste the screenshot from the clipboard. You can then save the screenshot in your desired format (JPEG, PNG, etc.) by selecting “File” > “Save As.”
Using the Snipping Tool
- Open the Snipping Tool: On your Dell laptop, type “Snipping Tool” in the Windows search bar and select it from the search results.
- Select the Screenshot Mode: Once the Snipping Tool is open, click on “New” to start a new snip. You can choose from different snip types such as Free-form, Rectangular, Window, or Full-screen snip.
- Capture the Screenshot: Depending on the snip type you selected, use your mouse to draw around the area you want to capture (for Free-form or Rectangular snip) or click on the window you want to capture (for Window snip). The captured screenshot will appear in the Snipping Tool window.
- Save the Screenshot: After capturing the screenshot, you can annotate it if needed using the tools provided in the Snipping Tool. Once you’re satisfied, click on “File” > “Save As” to save the screenshot in your desired format and location.
Using the Windows Game Bar (for Gaming)
If you’re a gamer using a Dell laptop running Windows 10, you can use the built-in Game Bar to capture screenshots while gaming.
- Open the Game Bar: While in-game, press the “Windows” key + “G” to open the Game Bar overlay.
- Capture the Screenshot: Click on the camera icon (or press “Windows” key + “Alt” + “PrtScn”) to capture a screenshot of the game window.
- Access the Screenshot: The screenshot will be automatically saved to the “Captures” folder in your Videos library.
By mastering these methods, you can easily capture and save screenshots on your Dell laptop, whether it’s for work, study, or leisure. Experiment with these techniques to find the one that best suits your needs and workflow, and start documenting your digital experiences with ease.
You Might Also Like These:
How to connect my bose headphones to my laptop


