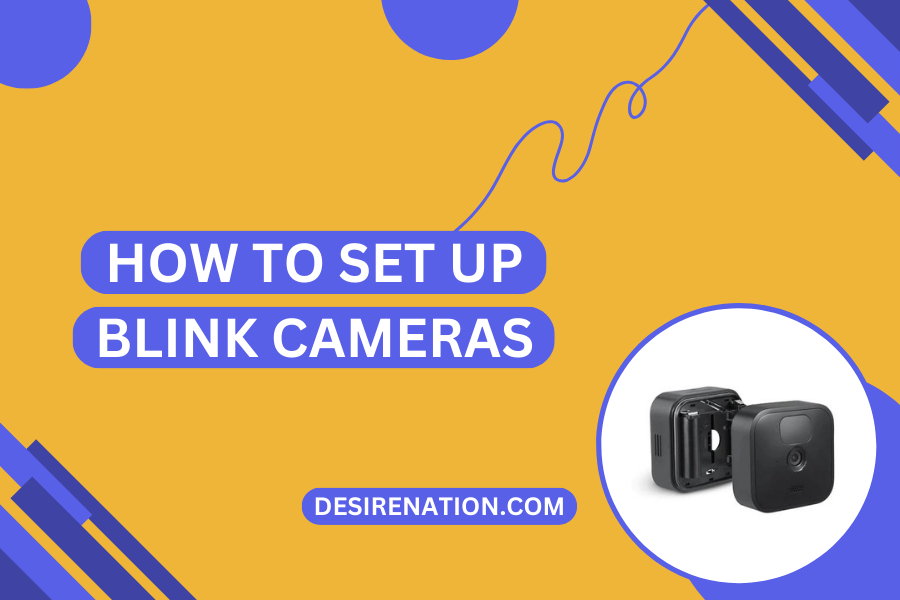
Blink cameras have gained popularity for their ease of use, wireless design, and affordable home security solutions. Whether you’ve just purchased a Blink camera system or are looking to install one, this step-by-step guide will walk you through the process of setting up your Blink cameras and getting them ready to monitor your home.
Step 1: Unbox and Inspect Your Blink Camera System
Before you start the setup process, carefully unbox your Blink camera system and inspect its contents. Ensure that you have all the necessary components, including cameras, mounting hardware, the sync module (if applicable), batteries, and any included cables.
Step 2: Download the Blink Home Monitor App
To set up and manage your Blink cameras, you’ll need to download the Blink Home Monitor app on your smartphone or tablet. The app is available for both iOS and Android devices. Search for “Blink Home Monitor” in your device’s app store, download the app, and open it.
Step 3: Create a Blink Account
Upon opening the Blink Home Monitor app, you’ll need to create a Blink account if you don’t already have one. You’ll be prompted to provide an email address and create a password. Once you’ve completed this step, you’ll have access to the app’s features.
Step 4: Add a Sync Module (If Applicable)
If your Blink camera system includes a sync module, follow these steps to set it up:
- Plug the sync module into a power outlet using the provided USB cable and power adapter.
- Wait for the sync module’s LED light to turn blue. This indicates that it’s ready for setup.
- Open the Blink Home Monitor app and log in.
- Tap the “+” icon to add a new device.
- Select “Sync Module.”
- Follow the on-screen instructions to connect the sync module to your Wi-Fi network by scanning the QR code on the module.
- Once connected, give your sync module a name (e.g., Living Room Sync Module).
Step 5: Add Blink Cameras to Your System
Now it’s time to add your Blink cameras to the system:
- Ensure your Blink camera has fresh batteries installed.
- Open the Blink Home Monitor app.
- Tap the “+” icon to add a new device.
- Select “Camera.”
- Scan the QR code located on the back of your Blink camera. Alternatively, you can manually enter the serial number if needed.
- Follow the on-screen prompts to connect the camera to the sync module.
- Repeat these steps for each additional camera you want to add to your system.
Step 6: Position and Mount Your Blink Cameras
After adding your cameras, position them where you want them to monitor your home. Keep in mind that Blink cameras are wireless and use two AA lithium batteries, which can last for up to two years.
Use the included mounting hardware to secure the cameras in place. Mount them at the desired height and angle to capture the area you want to monitor effectively.
Step 7: Customize Camera Settings
Within the Blink Home Monitor app, you can customize various camera settings, including motion detection sensitivity, clip length, and arming and disarming schedules. Adjust these settings to suit your preferences and security needs.
Step 8: Test Your Blink Cameras
Before relying on your Blink cameras for home security, it’s a good idea to test them to ensure they’re capturing the desired footage and responding to motion detection as expected. Walk in front of each camera to trigger motion detection and verify that it records clips and sends alerts to your device.
Conclusion
Setting up Blink cameras is a straightforward process that allows you to enhance the security of your home. With the Blink Home Monitor app and this step-by-step guide, you can quickly configure your cameras, customize settings, and enjoy peace of mind knowing that your property is under surveillance.
You Might Also Like These:


