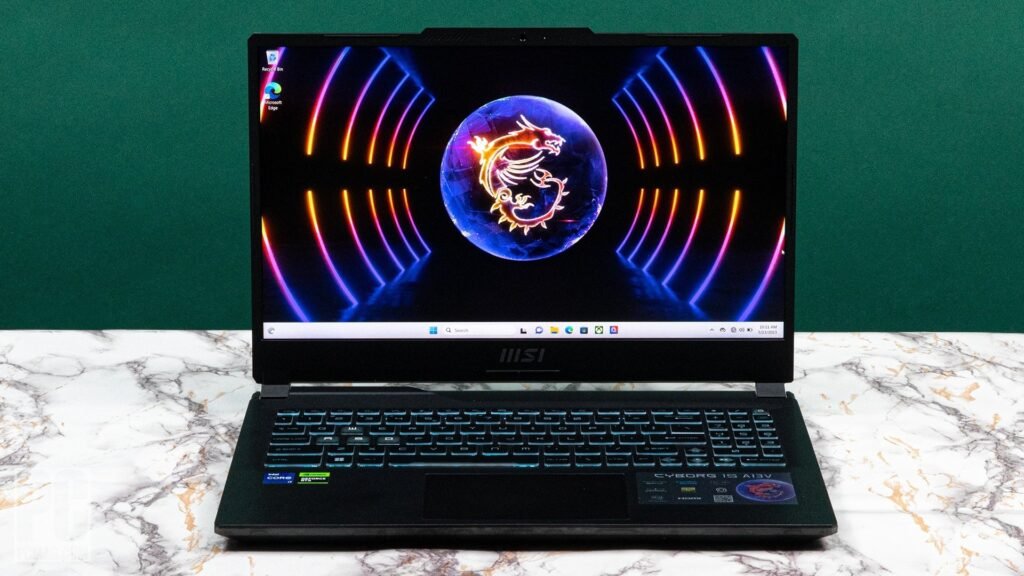
Whether you want to capture a memorable moment in a video, save an important piece of information, or share a software issue with tech support, taking a screenshot is a handy skill. If you own an HP laptop, the process is straightforward and can be done using built-in keyboard shortcuts. In this guide, we’ll explore the various methods to take a screenshot on an HP laptop, catering to different scenarios and preferences.
Method 1: Full-Screen Screenshot
-
Locate the “PrtScn” Key:
- On your HP laptop’s keyboard, find the “PrtScn” (Print Screen) key. It’s usually located in the upper-right corner and might also be labeled as “PrtSc” or similar.
-
Capture the Entire Screen:
- To capture the entire screen, press the “PrtScn” key. The screenshot is now copied to your clipboard.
-
Paste and Save:
- Open a photo editing software, such as Microsoft Paint or any image editor of your choice. Press “Ctrl + V” to paste the screenshot. You can now save the image using the software’s save function.
- Alternatively, you can paste the screenshot directly into an application like Microsoft Word or an email.
Method 2: Capture Active Window
-
Focus on the Window:
- If you want to capture only the active window, make sure it’s the currently focused window on your screen.
-
Press “Alt + PrtScn”:
- Hold down the “Alt” key and press the “PrtScn” key. This captures only the contents of the active window.
-
Paste and Save:
- Open a photo editing software and press “Ctrl + V” to paste the screenshot. Save the image as needed.
Method 3: Snipping Tool (Windows 7/8.1) or Snip & Sketch (Windows 10)
-
Search for Snipping Tool or Snip & Sketch:
- For Windows 7 and 8.1, you can use the Snipping Tool. Press the Windows key, type “Snipping Tool,” and open the application.
- For Windows 10, you can use Snip & Sketch. Press the Windows key, type “Snip & Sketch,” and open the application.
-
Select Snip Type:
- In Snipping Tool, click on “New” and select the type of snip you want (e.g., free-form, rectangular, window).
- In Snip & Sketch, click on “New” and choose the snipping type.
-
Capture the Screenshot:
- Use the snipping tool to select the area you want to capture. The screenshot will be opened in the tool.
-
Save the Screenshot:
- In Snipping Tool, click “File” and then “Save As” to save the screenshot.
- In Snip & Sketch, click on the save icon to save the snip.
Method 4: Windows + Shift + S (Windows 10)
-
Press Windows + Shift + S:
- On Windows 10, you can use a quick keyboard shortcut to open the Snip & Sketch tool. Press “Windows + Shift + S.”
-
Select Area to Capture:
- Click and drag to select the area you want to capture. The screenshot will be copied to your clipboard.
-
Paste and Save:
- Open an image editor or application, press “Ctrl + V” to paste the screenshot, and then save it.
Conclusion:
Taking a screenshot on an HP laptop is a versatile skill, and the methods outlined above cater to various preferences and scenarios. Whether you prefer traditional keyboard shortcuts or utilize the built-in Snipping Tool or Snip & Sketch, capturing and saving moments on your HP laptop is a simple and efficient process. Experiment with the methods to find the one that best suits your needs and workflow.
You Might Also Like These:
HP pavilion gaming laptop review


