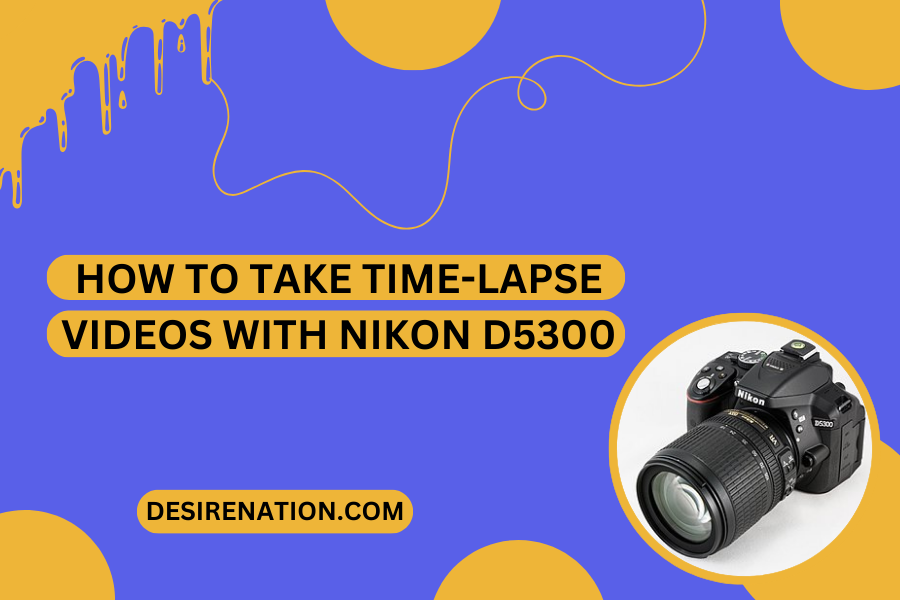
Time-lapse videos have the magical ability to condense hours or even days of footage into a short, captivating sequence, revealing the subtle beauty of the passage of time. If you own a Nikon D5300 and want to delve into the world of time-lapse photography, this guide will walk you through the steps to create stunning time-lapse videos with your camera.
Setting Up Your Nikon D5300 for Time-Lapse:
-
Secure a Sturdy Tripod:
- Stability is crucial for time-lapse photography. Use a quality tripod to ensure that your camera remains steady throughout the entire shooting process.
-
Choose the Right Location:
- Select a location with an interesting subject or changing scenery. Time-lapses work exceptionally well when capturing events like sunsets, cityscapes, or the blooming of flowers.
-
Check Battery Level:
- Time-lapse shooting can consume a significant amount of battery power. Make sure your camera’s battery is fully charged or consider using an external power source if available.
-
Use a Memory Card with Sufficient Space:
- Time-lapse sequences generate a large number of images. Use a high-capacity memory card to ensure that you have enough space for the entire sequence.
Configuring Camera Settings:
-
Switch to Manual Mode:
- Set your Nikon D5300 to Manual (M) mode to have complete control over exposure settings.
-
Adjust Aperture, Shutter Speed, and ISO:
- Choose an aperture setting that suits your scene and desired depth of field. Select a shutter speed that captures the motion appropriately, and set the ISO to achieve the desired exposure.
-
Turn Off Auto Focus:
- Switch the lens to manual focus to prevent the camera from refocusing between shots.
-
White Balance:
- Set the white balance based on the lighting conditions. You can use the specific white balance presets or set a custom white balance.
-
Interval Timer Shooting:
- Access the Shooting Menu and navigate to “Interval Timer Shooting.” Enable the feature and set the interval between shots. This determines how much time elapses between each captured frame.
-
Choose the Number of Shots:
- Determine the total number of shots you want for your time-lapse sequence. This depends on the desired length of the final video and the frame rate you plan to use during editing.
Capturing the Time-Lapse:
-
Compose Your Shot:
- Frame your shot and ensure that your composition is visually engaging. Consider using the rule of thirds for balanced framing.
-
Start the Interval Timer:
- Once your settings are configured, start the interval timer. Your Nikon D5300 will now automatically capture images at the specified intervals.
-
Monitor the Progress:
- Periodically check the camera’s progress to ensure that the time-lapse is proceeding as expected. You can do this by reviewing a few captured frames on the camera’s LCD screen.
-
End the Time-Lapse:
- Once you’ve captured the desired number of shots, stop the interval timer shooting.
Post-Processing and Video Creation:
-
Transfer Images to Computer:
- Transfer the captured images from your camera to your computer using a card reader or USB cable.
-
Use Time-Lapse Software:
- Use time-lapse software or video editing software to compile the images into a video sequence. Adobe Premiere, Final Cut Pro, and various free online tools can assist in this process.
-
Adjust Frame Rate:
- Choose the frame rate for your final video. Common frame rates are 24fps or 30fps. Adjusting the frame rate affects the speed of your time-lapse.
-
Add Music or Additional Edits (Optional):
- Enhance your time-lapse video by adding music or making additional edits to create a polished and visually appealing final product.
Conclusion:
Creating a time-lapse video with your Nikon D5300 opens up a world of creative possibilities. By following these steps and experimenting with different scenes and intervals, you can produce captivating time-lapse sequences that showcase the beauty of the passing moments in a unique and visually stunning way.
You Might Also Like These:


