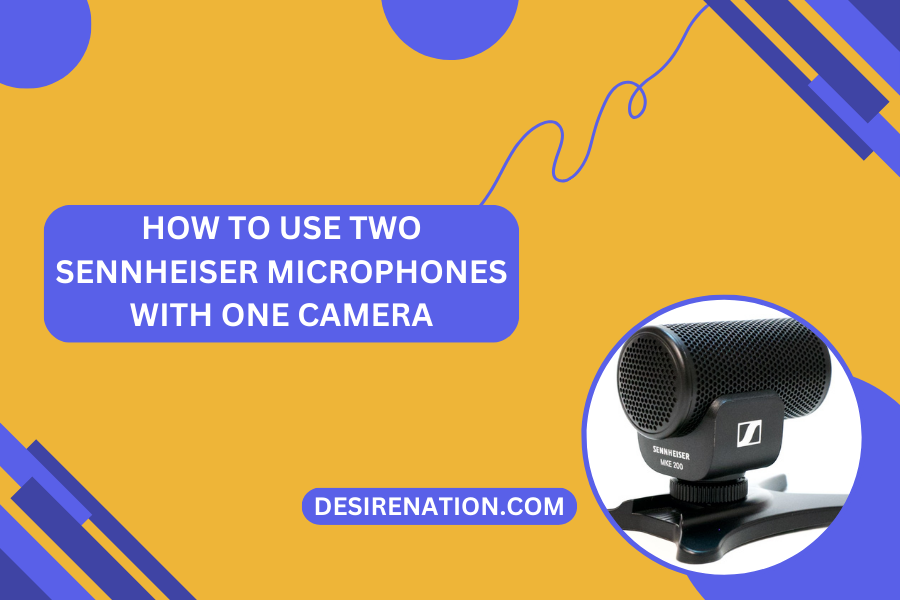
When it comes to capturing high-quality audio for your videos or recordings, Sennheiser microphones are known for their exceptional performance. If you have two Sennheiser microphones and want to use them simultaneously with a single camera, whether for interviews, vlogging, or other audio-critical situations, this article will guide you through the process of achieving that setup.
Note: The specific steps may vary depending on the models of your Sennheiser microphones and your camera’s compatibility. Ensure you have the user manuals for your microphones and camera for model-specific instructions.
Tools and Components You’ll Need:
- Two Sennheiser microphones (e.g., Sennheiser lavalier microphones or shotgun microphones)
- Camera with an external microphone input (usually a 3.5mm or XLR input)
- Appropriate microphone cables (e.g., XLR or 3.5mm audio cables)
- Microphone mounts or stands (if needed)
- Optional: Audio mixer or adapter (for more advanced setups)
Step-by-Step Guide:
1. Check Your Camera’s Compatibility: Before proceeding, ensure that your camera has at least one external microphone input. Most cameras have a 3.5mm microphone input, but professional cameras may also feature XLR inputs. Ensure your microphones are compatible with the type of input your camera provides.
2. Choose the Microphone Types: Decide which types of Sennheiser microphones you want to use. You can opt for two lavalier microphones for interviews, two shotgun microphones for capturing ambient sound, or a combination of both depending on your recording needs.
3. Set Up Your Microphones: Mount your microphones on appropriate stands or holders. Lavalier microphones are typically attached to clothing, while shotgun microphones are often mounted on boom poles or microphone stands.
4. Connect Microphones to Camera: Connect one of your microphones to the camera’s external microphone input using the appropriate microphone cable. Plug the cable into the microphone input securely.
5. Test the Connection: Before proceeding with the second microphone, test the audio input on your camera to ensure that the first microphone is working correctly. Adjust the camera’s audio levels to achieve the desired sound quality.
6. Connect the Second Microphone: If you’re using a camera with multiple audio inputs (e.g., two 3.5mm inputs or multiple XLR inputs), connect the second microphone to the available input using another microphone cable. If your camera has only one input, you may need an audio mixer or adapter to combine the two microphone signals into one.
7. Adjust Audio Levels: Once both microphones are connected, adjust the audio levels for each microphone on your camera. Aim for a balanced sound mix by monitoring the audio levels in your camera’s audio settings.
8. Monitor Audio: If your camera has a headphone output, use headphones to monitor the audio in real-time while recording. This will help you ensure that both microphones are capturing clear and balanced sound.
9. Record and Review: Begin recording with your camera, and monitor the audio levels throughout the recording session. After recording, review the footage to make sure both microphones captured the audio as intended.
10. Post-Processing (if needed): In post-production, you can further refine and enhance the audio quality by adjusting levels, removing background noise, and applying equalization if necessary.
Conclusion
Using two Sennheiser microphones with one camera can significantly improve the audio quality of your videos or recordings, especially in scenarios like interviews or capturing ambient sound. With the right setup and proper adjustments, you can achieve a professional-grade audio recording that complements your visual content. Remember to consult the user manuals for your specific microphones and camera for any model-specific instructions and compatibility details.
You Might Also Like These:
Sennheiser OfficeRunner Headset Review
How to replace Sennheiser ear pads


